


Welcome to the first part of a three-part series that will guide you through the process of building and uploading a website to the Internet using ReactJS, GitHub, and AWS services. We’ll be utilizing free services throughout the series, so you can create and upload your project without worrying about costs.
This first part focuses on how to code a website using ReactJS and CSS styling. In our project, we will create a personal website that describes a little bit about yourself and your skills. By the end of this article, you will have a styled and functional website that you can use for future reference when creating bigger and better ReactJS applications.
Why ReactJS?
There is a plethora of different coding languages to choose from when it comes to developing a website. I have found that ReactJS provides a simplistic and easy-to-understand approach to creating websites, especially for beginners. Apart from being clean and simplistic, ReactJS is a front-end JavaScript library that has grown in popularity over the past few years, and it is used by many businesses, big and small. ReactJS also provides fast performance, scalability, and rapid development through reusable components. Now that we have a solid understanding of the benefits of using ReactJS over other languages, let’s build our website.
Getting Started
To create a new ReactJS project, follow these steps (a code block summary is at the end of this section if you want to skip the basic understanding of each bash command):
The command: npx create-react-app is responsible for creating our initial ReactJS project. npx is a npm package runner that allows developers to execute any Javascript package available on the npm registry without having to install it. Follow these instructions if you need to download npm: npm install steps. In a terminal, enter a directory you would like your project to be in. Run the following command to build the React application:
npx create-react-app <name-of-project>
I will name my project “personal-website,” but you can give it any name you like.
Note: If you previously installed create-react-app globally using npm install -g create-react-app, use npm uninstall -g create-react-app to uninstall that version and rerun the npx command above. I prefer using npx because it always uses the latest version.
Once the contents are finished loading, you can cd <name-of-project> into the new folder you created and view all the files. Use a source-code editor like Visual Studio Code to get a better look at the file contents. Inside Visual Studio Code on the left side under the Explorer tab, you should see folders named node_modules, public, and src. If everything seems to be in place, you can start up your new application through localhost by running the command:
# Run this command inside of the "personal-website" directory
npm start
You should see a new browser pop open by itself displaying a rotating React symbol. If it does not automatically open, use the link localhost:3000.
Here’s a code block that summarizes the steps:
# Create your React app
npx create-react-app <name-of-project>

# Change to the project directory
cd <name-of-project>

# Test your website
npm start
Removing Preloaded Code
While the rotating React logo is a nice feature the npx create-react-app provides us with, it may not be the best fit for our website. Let’s begin removing the elements we don’t need. Replace the contents of src/App.js with this:
import './App.css';

function App() {
  return (
    <div className="App">
    </div>
  );
}

export default App;
For the time being, remove all the code in src/App.css (but don’t delete the file). However, do delete the files: src/index.css and src/logo.svg. Also, delete this line from the top of the src/index.js file:
import './index.css';
Lastly, set a new title in public/index.html. I changed mine from <title>React App</title> to <title>Claire Rhoda ~ Portfolio</title>. Once you save your changes you should see your new title appear on the browser tab.
Adding Our Content
Let’s add content to the website. Our website will be a static page containing a navigation bar at the top, a header, and three different sections. The three sections will contain an “About Me” section where you can talk about yourself, a “Skills” section to talk about your current knowledge and experience, and lastly, a “Contact Me” section where you can put your email and a link to your Github if you have one.
We will begin by updating our App.js file to add these three sections.
Within our div: <div className="App">, we will add a handful of HTML tags to hold our information. A good amount of them are self-explanatory, but if you need help understanding any of them a bit more, refer to this link. Our new App.js file will look something like this:
import "./App.css";

function App() {
  return (
    <div className="App">
      <main>
        <section id="about">
          <h2>About Me</h2>
          <p>
            I'm a software engineer who's passionate about developing
            web applications using ReactJS. I love the flexibility and power of
            this library and I'm always excited to dive into new projects and
            explore its many features. As a developer, I'm always striving to
            improve my skills and stay up-to-date with the latest developments
            in the field. I enjoy tackling complex problems and working with a
            team to create elegant solutions that meet the needs of our clients.
            One of my favorite things about ReactJS is the way it encourages
            modular, reusable code. I believe that building software is a
            collaborative effort and I'm always looking for ways to make our
            codebase more maintainable and scalable.
          </p>
        </section>
        <section id="skills">
          <h2>Skills</h2>
          <ul>
            <li>ReactJS Development</li>
            <li>UI/UX Design</li>
            <li>Web Hosting</li>
          </ul>
        </section>
        <section id="contact">
          <h2>Contact Me</h2>
          <div className="links">
            <a href="mailto:[email protected]">claire@apt304.io</a>
            <a href="https://github.com/clairerhoda">GitHub</a>
          </div>
        </section>
      </main>
    </div>
  );
}

export default App;
Go ahead and replace some of the data above with your own email and GitHub or make any changes in the description or skills section to explain your strengths and abilities.
Your project should look something like this:
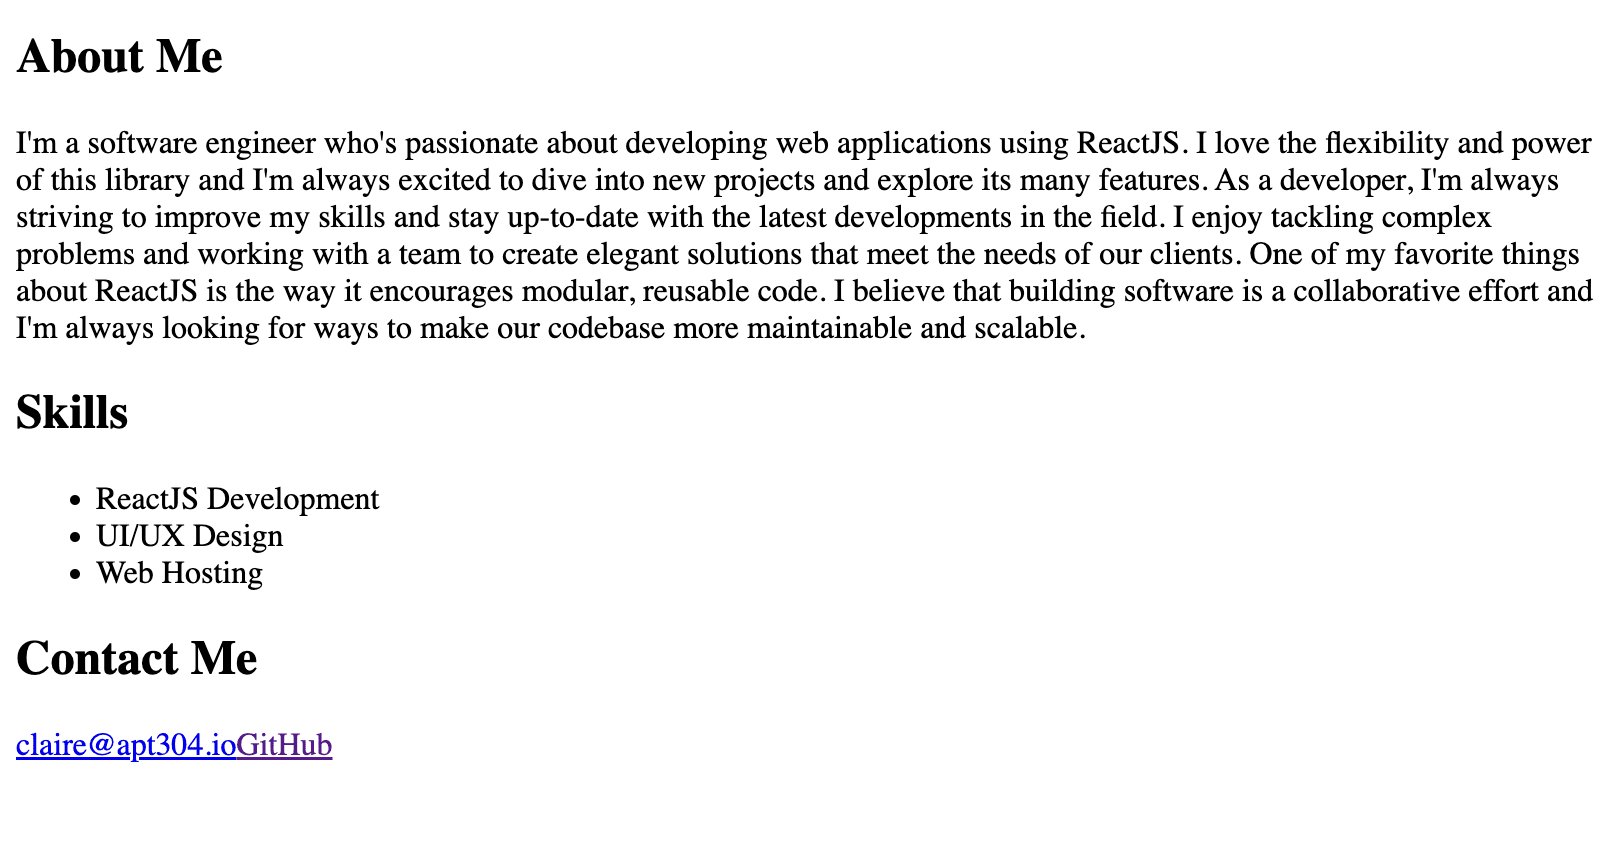
As you can see all of the data is there, but we need to add some styling. In the next section, I’ll explain what we can add to make it look much more enticing.
Styling
It’s time to add some creativity and make our website more interesting. Targeting each tag, class (.), and id (#), our plan is to add some simple changes that will make a big difference. In our App.css file, let’s edit the body tag, which is the parent tag of all of the other tags we will be styling. We want our font and background image to be the same throughout the project, so the body is the perfect place to hold these changes because the children elements of the body also inherit the same changes. The image I am using is from https://unsplash.com/, a great place to find free, high-quality images.
body {
  font-family: "Arial";
  margin: 0;
  background-image: url("https://images.unsplash.com/photo-1629196911514-cfd8d628ba26?ixlib=rb-4.0.3&ixid=MnwxMjA3fDB8MHxwaG90by1wYWdlfHx8fGVufDB8fHx8&auto=format&fit=crop&w=699&q=80");
  background-size: 50%;
}
Next, we will style the main and section tags, and add background colors, box shadows, and spacing to make it more organized.
main {
  max-width: 840px;
  margin: 0 auto 50px auto;
  padding: 20px;
  background-color: rgba(255, 255, 255, 0.6);
}

section {
  padding: 10px 40px 30px 40px;
  box-shadow: 0px 0px 40px rgb(223, 223, 228);
  margin: 50px;
}
Lastly, we want to style and arrange our links in the “Contact Me” section.
.links {
  text-align: center;
  display: flex;
  justify-content: space-between;
}

.links a, .links a:visited {
  width: 35%;
  display: inline-block;
  color: black;
  text-decoration: none;
  box-shadow: 0px 0px 40px rgb(203, 203, 205);
  padding: 8px 40px 8px 40px;
}
We are now left with an application that looks something like this:
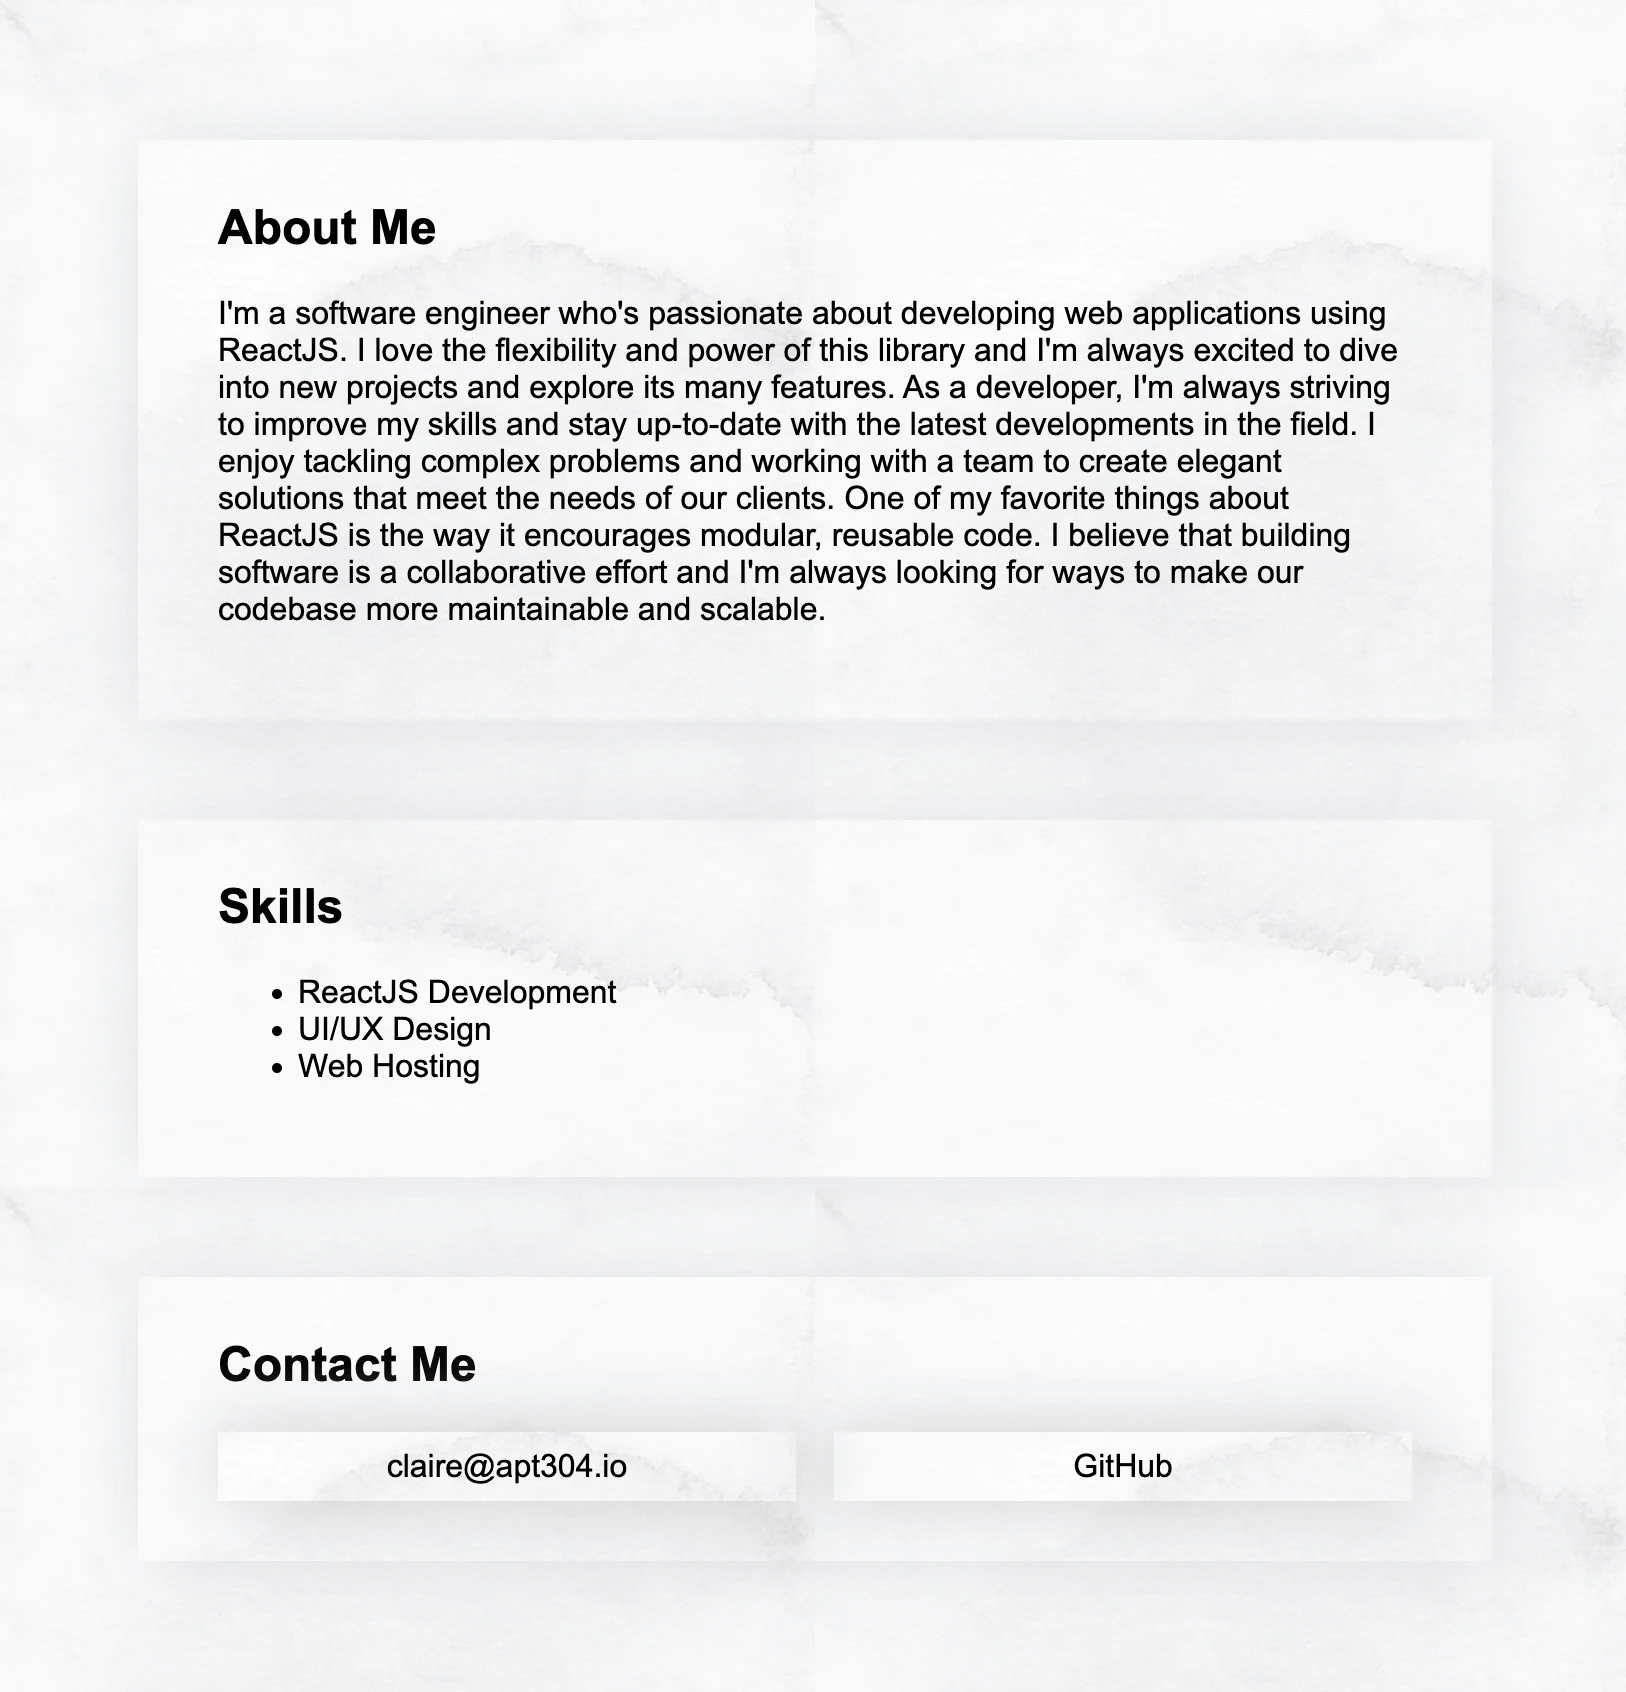
While it may not emulate a Princess Diaries transformation, it is an improvement from what we saw before. I encourage you to further explore the customization options available, such as substituting the background image, modifying the font, and more.
Navigation Bar
Next, we are going to add a navigation bar to help us navigate through the different sections of our website. This will help us get familiar with using functions within our React code.
Underneath the className=”App” div, add a navigation bar using a nav tag. Along with the navigation buttons, you will also see I added my name in a new div with the id, “nav-title”.
return (
    <div className="App">
      <nav>
        <div id="nav-title">Claire Rhoda</div>
        <div>
          <button onClick={() => scrollToId('about')}>About Me</button>
          <button onClick={() => scrollToId('skills')}>Skills</button>
          <button onClick={() => scrollToId('contact')}>Contact Me</button>
        </div>
      </nav>

      <main>
      ...
You may have also noticed the new function added to each of the onClick properties of the button tags. This is how we will move throughout the page. We need to define this scrollToId(...) function. Add it above the return inside our function App():
function App() {
  const scrollToId = (id) => {
    const element = document.getElementById(id);
    if (element) {
      const offset = element.offsetTop;
      window.scrollTo({
        top: offset,
        behavior: 'smooth'
      });
    }
  }
  return (
...
The function scrolls to the provided css id. I also added a smooth behavior to make the transition cleaner.
Lastly, here is a bit of styling to clean it up. Place this inside App.css, under the body CSS tag.
nav {
    display: flex;
    justify-content: space-between;
    background-color: #FFFFFF;
    text-align: center;
    padding: 20px 30px 20px 50px;
    align-items: center;
}

#nav-title {
    font-weight: 300;
    font-size: 20px;
}

button {
    border: 0;
    background-color: transparent;
    padding: 0 20px 0 20px;
    font-weight: 600;
    cursor: pointer;
}
Adding a Header as a Component and Utilizing Hooks
Components and hooks are two tools that React leverages to stand out from other languages. React components are reusable pieces of code that build user interfaces. Other than reusability, components are great for breaking down complex user interfaces into smaller, more manageable parts. Components are also useful in terms of encapsulation because they do not depend on or affect the behavior of other components in your application. Overall, components help improve the organization of your code and reduce the risk of bugs.
React hooks are another prominent feature of the React library that you will frequently encounter when working with the language. Hooks provide a way to reuse stateful logic between components, making it easier to share and reuse code. Two common hooks you will encounter often when using React are useState and useEffect. The first hook, useState, allows you to add state to functional components. It takes an initial state value and returns a stateful value and a function to update that value. The other hook, useEffect, enables you to perform side effects in your components. useEffect takes a function that will be executed after every render cycle of the component. A render cycle is the process of updating and rendering components in the user interface whether it is state/props updating or virtual DOM diffing. If you are interested in learning more about render cycle, check out this helpful article.
Now that we have a basic understanding of these React features, let’s incorporate them into our project. In our src folder add a new file named Header.js. (When creating a new file with an exported element, it is a convention to capitalize the first letter of the file name). Add this code to our newly created file:
import React, { useEffect, useState } from "react";

const Header = () => {
  const [header, setHeader] = useState("");
  useEffect(() => {
    setHeader("I Build Websites Using ReactJS.");
  }, []);
  return (
    <>
      <header>
        <h1>{header}</h1>
        <h4>Software Engineer</h4>
        <h4>Based in Orange County</h4>
      </header>
    </>
  );
};

export default Header;
The hooks I previously mentioned, useEffect and useState, are imported from the React library at the top of the component. We will utilize useState to define a header variable that will act as a eye-capturing opener for readers viewing your website.
To show how the useState updates the value when a change is detected, we are going to add an onClick detector to the header that will update the text whenever the header is clicked. Your new code will look like this:
import React, { useEffect, useState } from "react";

const Header = () => {
  const [header, setHeader] = useState("");
  useEffect(() => {
    setHeader("I Build Websites Using ReactJS");
  }, []);

  const handleClick = () => {
    if (header == "I Build Websites Using ReactJS")
    setHeader("Let's Make Something Great Together");
    else {
      setHeader("I Build Websites Using ReactJS");
    }
  };

  return (
    <header onClick={handleClick}>
      <h1>{header}</h1>
      <h4>Software Engineer</h4>
      <h4>Based in Orange County</h4>
    </header>
  );
};

export default Header;
To see if it works, click on any part of the header and watch as the text inside the tag updates upon every click.
Moving onto the useEffect hook, notice the empty [] array at the end of the hook. This triggers useEffect to run only on the first render. If you were to put some variable inside of the brackets, useEffect would re-render every time that specific value in the square brackets changes.
Now it’s time to insert our component into App.js. We will add our new component import at the top of App.js. To keep things simple, I will name the import “Header” just like the file name.
import "./App.css";
import Header from "./Header";
With the JavaScript file imported into our code, the next step is to insert our imported component into the return code of the App function between the </nav> tag and the <main> tag:
    <button onClick={() => scrollToId('about')}>About Me</button>
    <button onClick={() => scrollToId('skills')}>Skills</button>
    <button onClick={() => scrollToId('contact')}>Contact Me</button>
  </div>
</nav>
<Header/> {/* ADD HEADER HERE */}
<main>
  <section id="about">
    <h2>About Me</h2>
    <p>
      I'm a software engineer who's passionate about developing web
      applications using ReactJS. I love the flexibility and power of this
      library, and I'm always excited to dive into new projects and
      ...
To complete our project, we need to apply some basic styling to our App.css file, which will help properly space out the elements in the header.
header {
  background-color: rgba(255, 255, 255, 0.8);
  text-align: center;
  margin: 30px 0 20px 0;
  padding: 30px 0 50px 0;
}

h4 {
  margin: 0 0 5px;
}

main {
Note that we didn’t add:
import "./App.css";
to our Header.js file because we don’t need to. App.js is the parent of Header.js. The imports inside App.js are also imported for Header.js.
With that final step completed, we have finished our ReactJS application.
You should have a website that looks something like this:

Conclusion
After completing this project, hopefully, you see how easy it is to create a ReactJS application from scratch. The use of components and states are just a couple of ways you can elevate your ReactJS projects to something much more advanced. This project serves as a simple template for you to create more complex websites that fit your project needs.
In the next part of this series, I will explain how to move our ReactJS application from our local machine to GitHub, a cloud-based hosting service. The last part of this series will describe how to get our website from GitHub to the Internet for other people to view.