


Halloween is my favorite holiday, and I enjoy automating Halloween decorations. I’d like to share a scary story about troubleshooting, circuit design, micro-controllers, and, uh-oh, over-engineering. It’s called Halloween Spooktacular: Fog Machine Madness.
A Spooky House
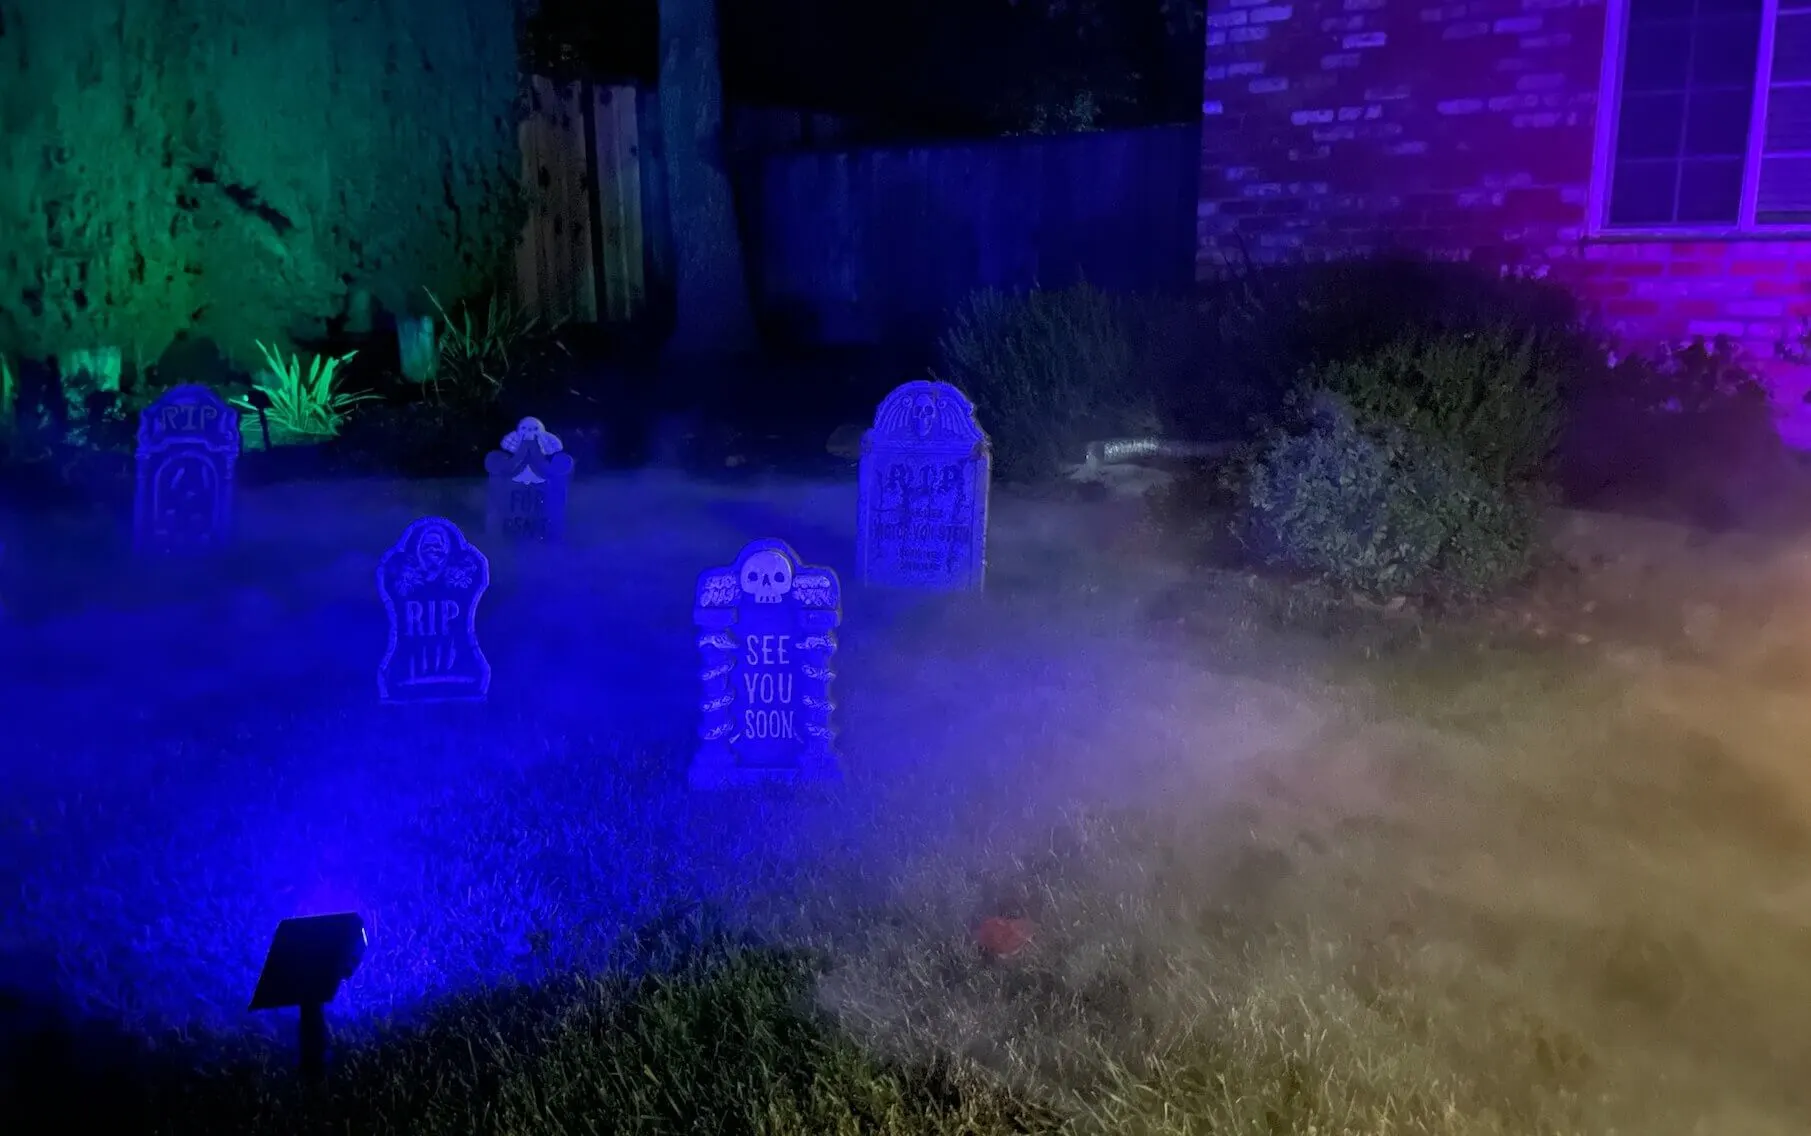
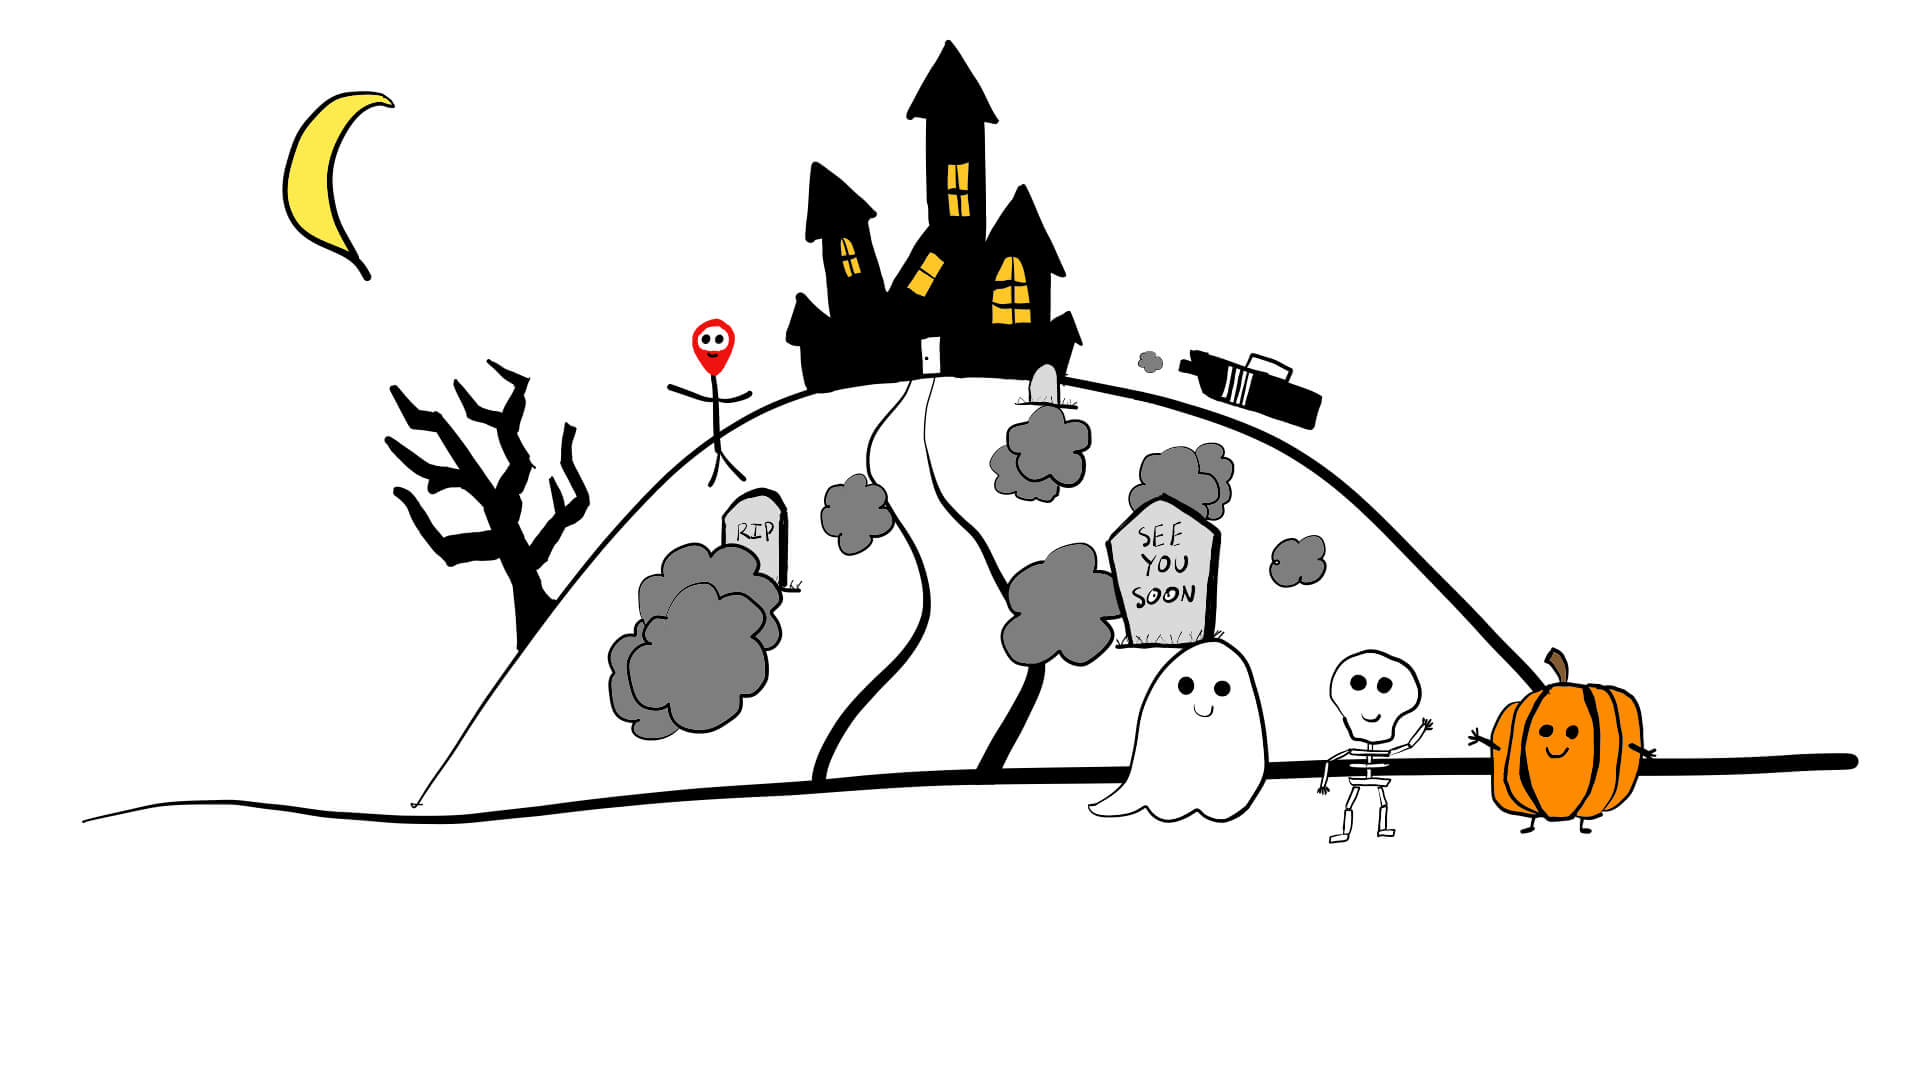
Like many scary stories, ours begins with a spooky house. In that house, there lives a mad scientist (that’s me) who uses a fog machine to make a spooky fog-filled graveyard.
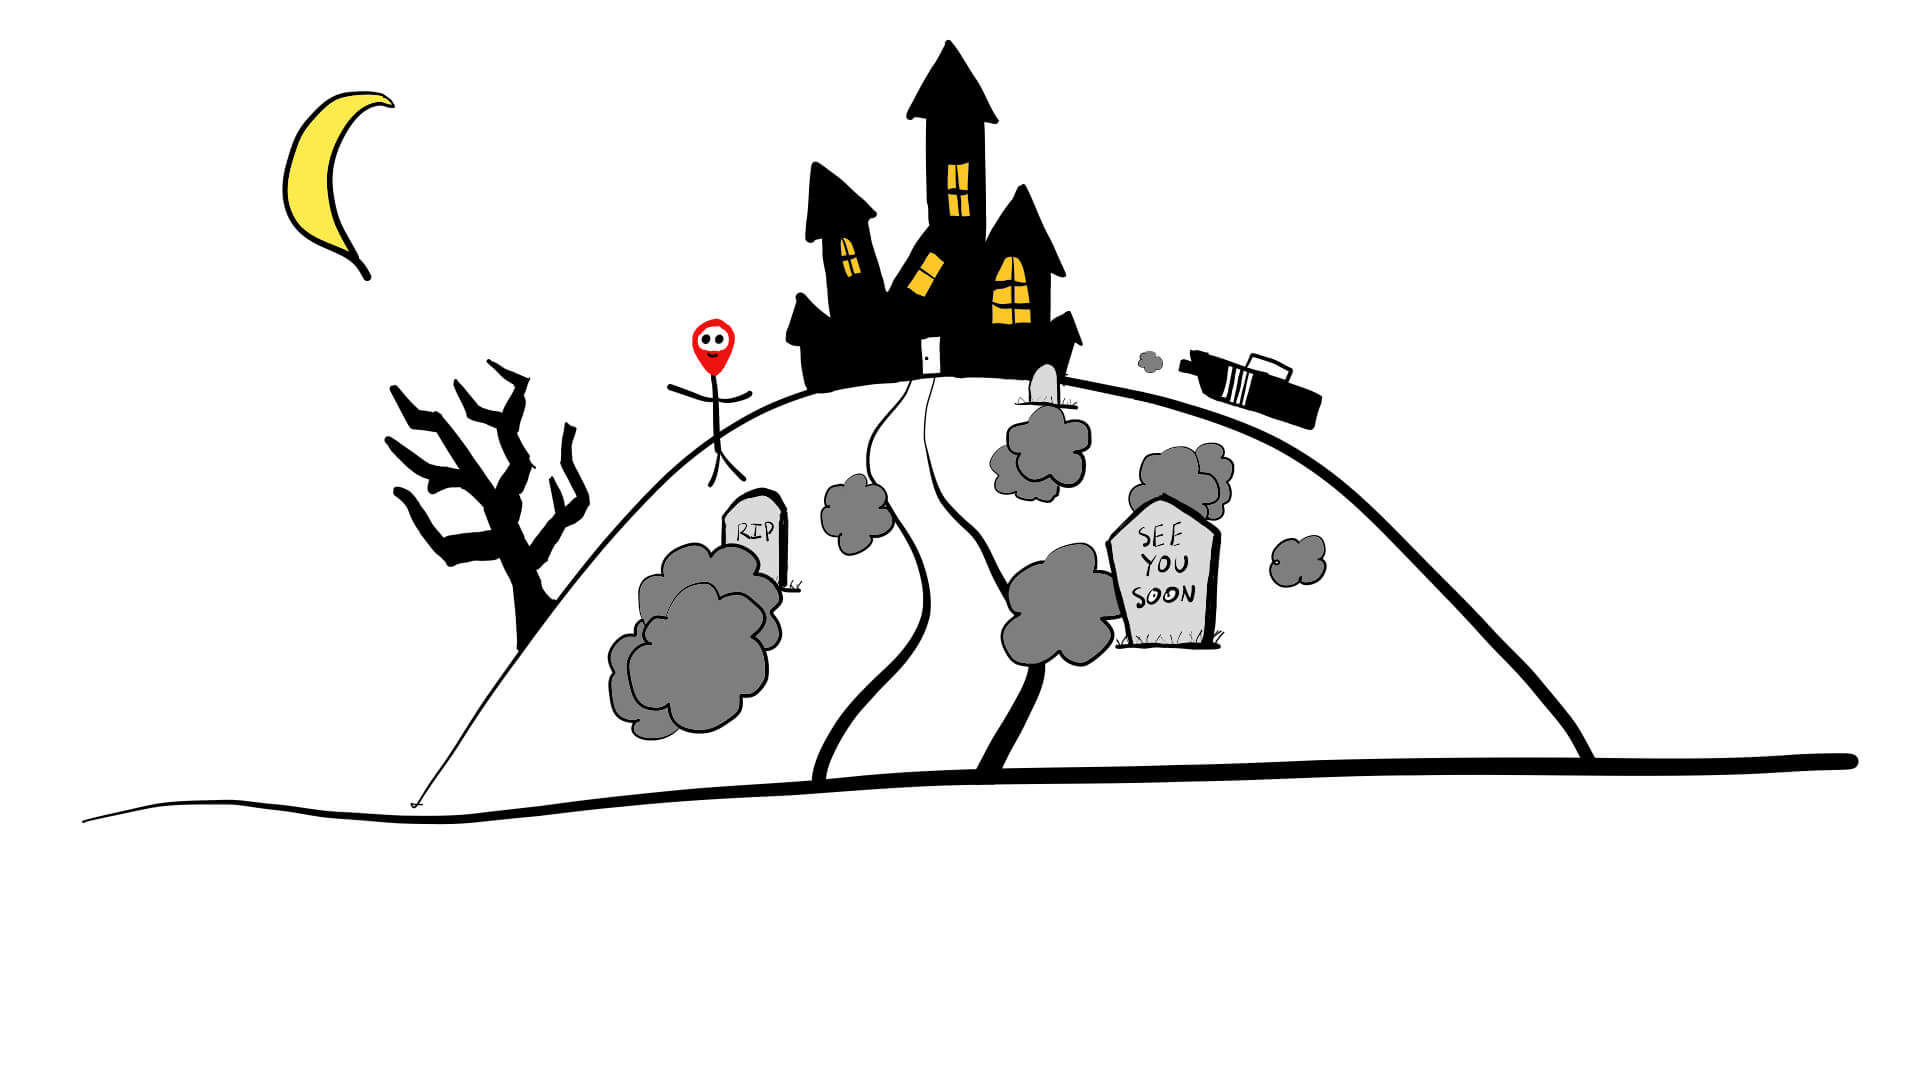
The problem is, the fog machine runs on a timer. If the timer interval is too long, trick-or-treaters could come and go between fog runs. If the interval is too short, there will be lots of fog, but no trick-or-treaters around to see it.
So I had an idea — run the fog machine when trick-or-treaters are close by.
There are a few things to do:
- Build a custom fog machine remote.
- Detect when a trick-or-treater is at the bottom of the hill.
- Signal the fog machine when a trick-or-treater is close by.
Controlling a Fog machine
Reverse Engineering a Remote
First up: building a custom fog machine remote. This took some hardware troubleshooting.
The fog machine has a 5-pin MIDI port for remotes. I guessed that a push-button remote would connect two of the pins, but I didn’t know which.
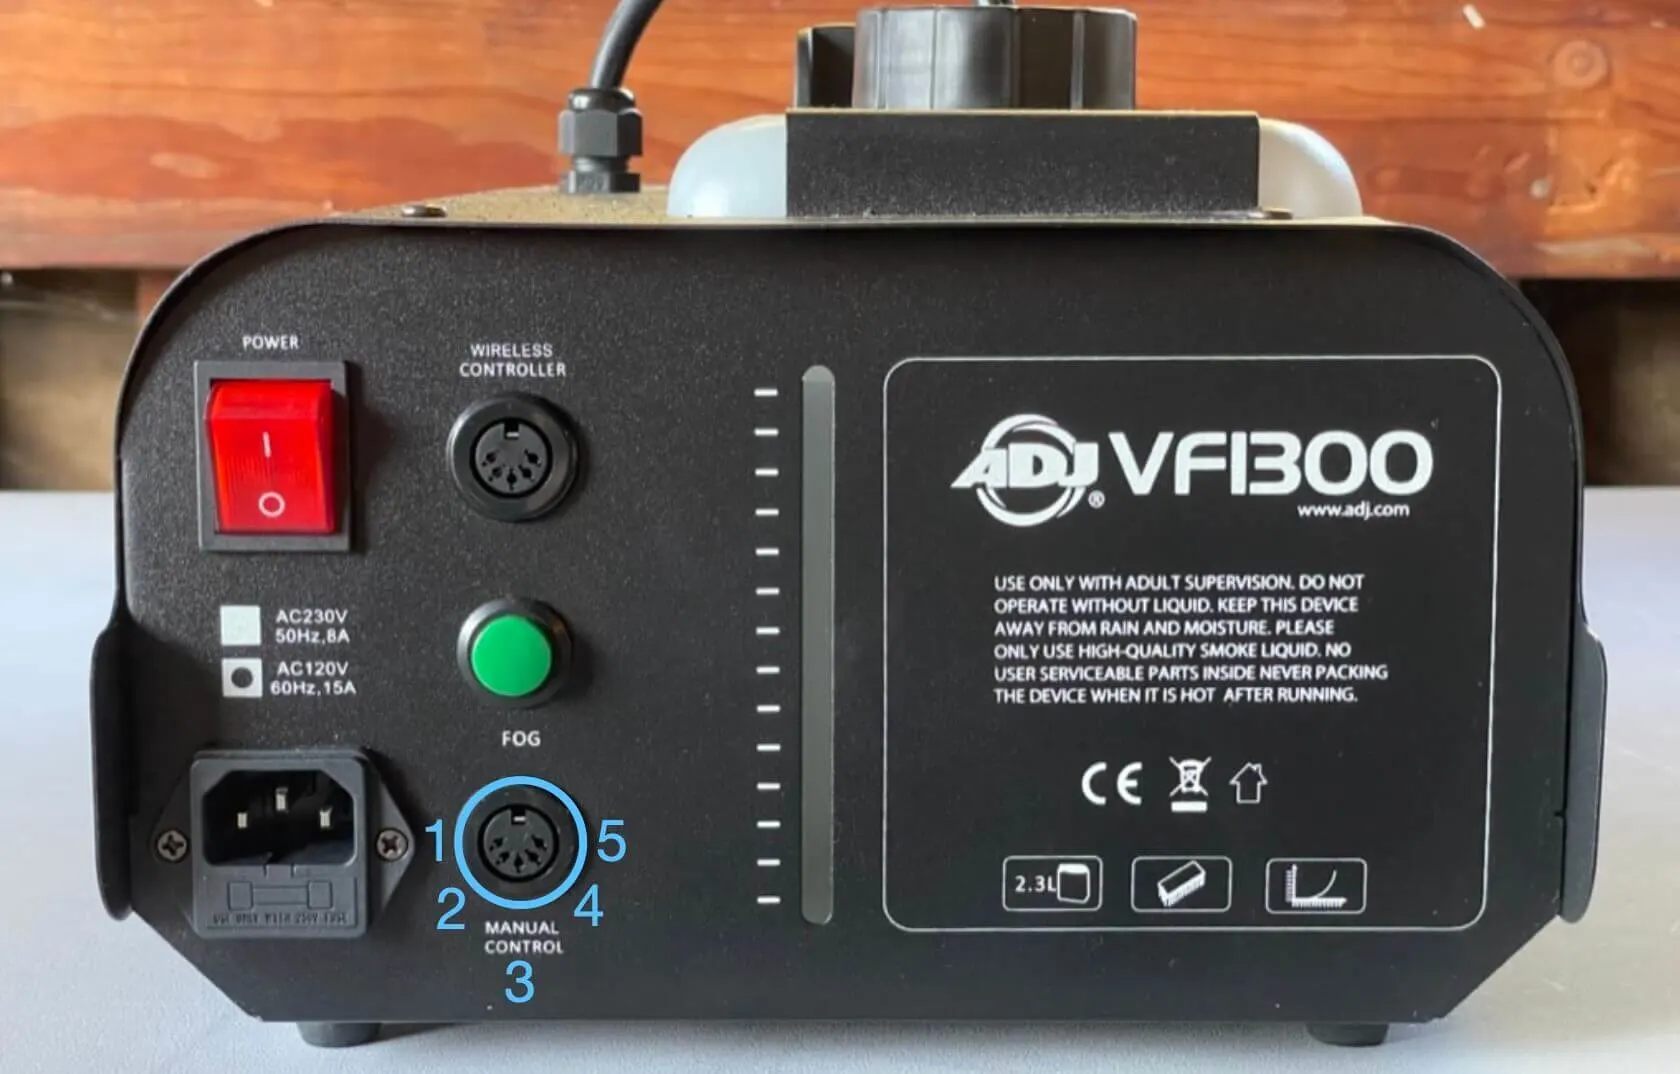
With a handy dandy multimeter and some trial and error, I discovered:
- The fog machine has two states: cold and hot. When the machine is cold, pin 5 has 0V, and when hot, it has 3.7V.
- Fog is triggered by grounding the 4th pin, but only when the machine is hot.
- And finally, the machine’s output voltages fluctuated a bit and were high enough that they might damage a micro controller.
Circuit Design
Now that we know how the remote pins work, we can build a circuit to drive the fog machine. I had a few requirements:
- Listen for the fog machine’s hot/cold signals.
- Trigger fog by grounding the machine’s 4th pin.
- Light up LEDs to show when the machine is hot and when fog is triggered.
- Safely connect a microcontroller to the fog machine without damaging the micro controller.
- Use the electronics components I had in an old tackle box in the back of my closet.
Here’s what the circuit looks like.
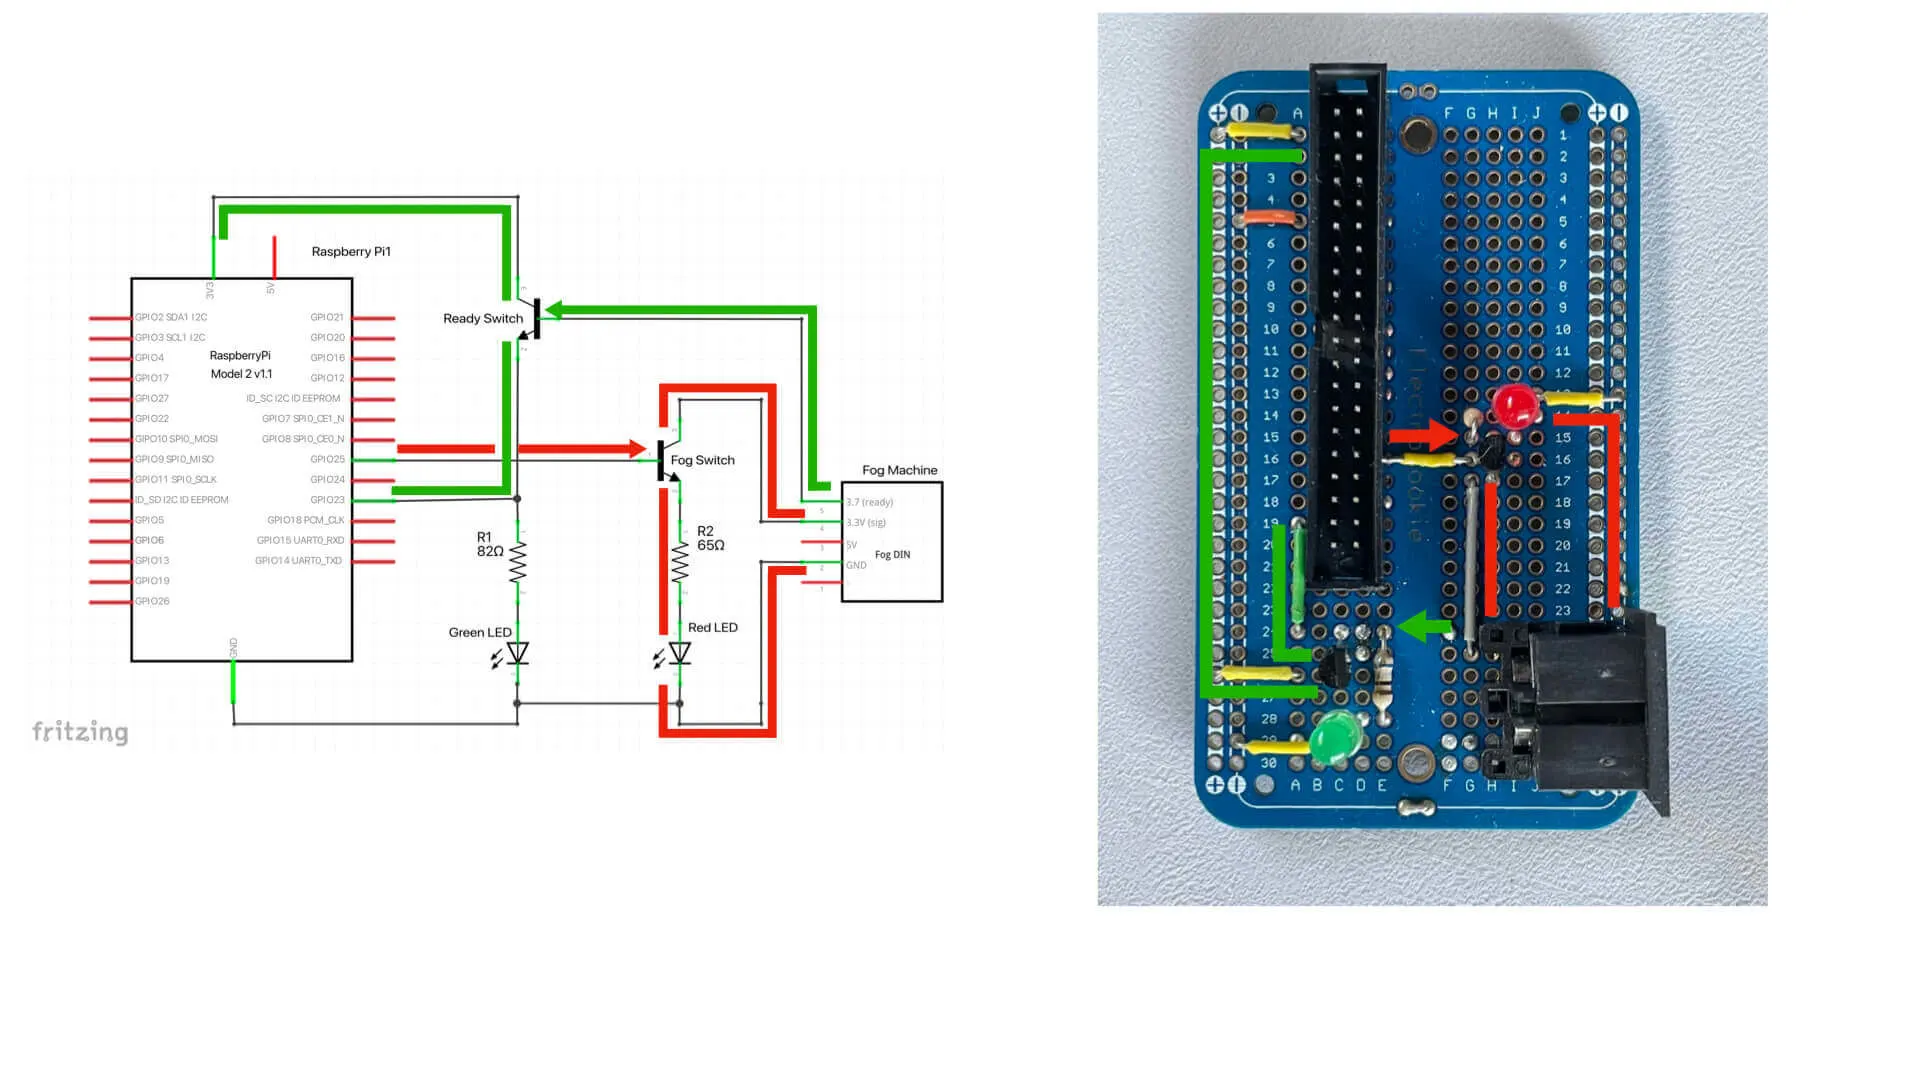
The green loop listens for the hot signal from the fog machine, and the red loop sends the “run fog” signal from the microcontroller.
Each loop starts and stops on the same side, microcontroller or fog machine, so the fog machine doesn’t connect directly to the microcontroller’s pins. This protects the microcontroller from the fog machine’s high voltages. However, the fog machine needs to send the hot/cold signal to the microcontroller, and the microcontroller needs to signal the fog machine when we want to make fog.
The two sides shouldn’t connect directly, so transistors buffer the signals. Think of the transistors like light switches. The switches start “off,” and an incoming signal flips the switch “on.” When the signal stops, the switch turns “off” again. In both loops, the circuit starts and ends on the same side, microcontroller or fog machine, and the other side’s line only crosses over to flip the transistor on. For example, to trigger fog, we connect the fog machine’s 4th pin to ground by sending a signal from the microcontroller to flip the transistor switch.
Gobot
Before we look at code, there are a couple things to note: I used Gobot to connect to the hardware pins, which we’ll use to monitor the fog machine hot & cold status and trigger fog, and a few things like error and context handling are omitted for brevity.
On the Gobot side, there are two main pieces — a driver, which manages the hardware-level pin logic, and a controller, which handles the high-level fog-triggering logic.
Driver
The driver handles two things: keeping track of the hot/cold state, and running fog.
For the hot/cold state, the driver needs to read the hardware input signal that the fog machine sends out when it is hot. To do that, it polls the Ready Input Pin every 250ms, and sets the machine as ready when it’s hot or not ready when it’s cold. Then it waits for 250ms before polling again.
// Start starts the FogMachineDriver and polls the hot/cold state of
// the fog machine at the given interval (250ms).
func (fd *FogMachineDriver) Start() (err error) {
	go func() {
		for {
			// newValue will be 0 when cold, or 1 when hot
			newValue, err := fd.pins.DigitalRead(fd.ReadyInputPin)
			if err != nil { /* ... */ }

			// Update the fog machine ready state
			machineIsReady := newValue == hotState

			fd.readyMu.Lock()
			fd.isReady = machineIsReady
			fd.readyMu.Unlock()

			// Wait before reading the state again. (250ms)
			<-time.After(fd.interval)
		}
	}()
	return
}
Now let’s look at making fog. First we check if the machine is ready, and return an error if it isn’t. Then we set the hardware output pin to the “high” value, which completes the fog machine circuit by grounding the fog machine’s 4th pin and makes the machine run. But we don’t want the machine to run forever, so the driver waits for the provided duration (usually something like 10 or 15s) and then sets the output pin back to the “low” value.
// RunFog Run fog runs the fog machine for the provided duration. An error is
// returned if the machine is not ready.
func (fd *FogMachineDriver) RunFog(duration time.Duration) error {
	// Make sure the fog machine is ready
	fd.readyMu.RLock()
	if !fd.isReady {
		fd.readyMu.RUnlock()
		return ErrNotReady
	}
	fd.readyMu.RUnlock()

	// Start fog by setting the fog output pin to "high"
	err := fd.pins.DigitalWrite(fd.FogOutputPin, 1)
	if err != nil { /* ... */ }

	// Wait for the provided duration
	<-time.After(duration)

	// Stop fog by setting the fog output pin to "low"
	err = fd.pins.DigitalWrite(fd.FogOutputPin, 0)
	if err != nil { /* ... */ }

	return nil
}
Controller
Moving on to the fog controller, it’s responsible for handling the high-level “run fog now” signal that we get when a trick-or-treater arrives. When the controller starts up, it starts the fog machine driver, which in turn starts polling the fog ready state. Then it calls listenForFogSignal() to listen for incoming fog signals.
The controller waits for the listener to receive a signal, and then calls the driver’s RunFog() method to complete the fog machine circuit by grounding the 4th pin. If the fog machine isn’t ready, the driver will return an error instead of trying to run fog. After the fog is run, the controller waits for a bit to give the fog machine a break between runs.
Something to note — the controller is designed to respond to fog messages that arrive while it’s listening for them, but it doesn’t want those messages to queue up and hang around. If the controller isn’t ready and waiting for a message, the message should drop.
// Start starts the driver and listens for incoming fog signals.
func (fc *FogMachineController) Start() error {
	err := fc.driver.Start()
	if err != nil { /* ... */ }

	go fc.listenForFogSignal()

	return nil
}

// listenForFogSignal listens for incoming messages to run the fog machine. After
// running, it waits for an interval (30s). Fog messages while waiting must drop.
func (fc *FogMachineController) listenForFogSignal() {
	for {
		_, err := fc.fogSignalListener.Receive()
		if err != nil { /* ... */ }

		err = fc.driver.RunFog(fc.fogRunDuration)
		if err != nil { /* ... */ } // Likely ErrNotReady

		// Wait for an appropriate interval (30s) before listening for another fog event
		// to give the machine a break.
		<-time.After(fc.fogWaitInterval)
	}
}
Alright, we can control the fog machine, but how do we detect nearby trick-or-treaters?
Motion sensors!
Put a motion sensor at the bottom of the hill. Easy-peasy. Here’s the code. Gobot has a built-in motion sensor driver, so we create the sensor, define a work function, and return the Gobot robot all-in-one. The work function is where the magic happens. Wait for a motion-detected signal from the motion sensor, and send a fog message using the fog sender.
That message is received by the fog machine controller, which calls the RunFog() method on the fog machine driver, which grounds the fog machine’s 4th pin, which tells the fog machine to spit out fog. Phew.
func NewMotionSensor(name, sensorPin string, adapter Adapter, fogSender Sender) *gobot.Robot {
	sensor := gpio.NewPIRMotionDriver(adapter, sensorPin)

	work := func() {
		_ = sensor.On(gpio.MotionDetected, func(data interface{}) {
			err := fogSender.Send(fogSignal{})
			if err != nil { /* ... */ }
		})
	}

	robot := gobot.NewRobot(
		name,
		[]gobot.Connection{adapter},
		[]gobot.Device{sensor},
		work,
	)

	return robot
}
Orchestration
Where were we? We can control the fog machine. We can watch for trick-or-treaters. But we still need to get the motion signal from the bottom of the hill to the fog machine at the top.
And this is where it gets scary. Because wouldn’t you know that the old tackle box in the back of my closet had a couple Raspberry Pis in it. And wouldn’t you know that a Raspberry Pi runs containers. And wouldn’t you know that after enough time in the cloud, everything starts looking like a Kubernetes workload.
So I did what any sane person would do. I over engineered the heck out of it.
I packaged up my Gobot robots into a container. I installed k3s on the Pis to make a lightweight Kubernetes cluster, and I installed the NATS message bus Helm chart on the cluster to send messages from the motion sensor to the fog controller. That way, trick-or-treaters at the bottom of the hill would trip the motion sensor, which sends a NATS message from the bottom of the hill to the fog controller at the top, so the fog controller could receive the the message and call the fog driver’s RunFog() method, which grounds the 4th pin and tells the machine to spit out fog, all to entertain and delight the trick-or-treaters on their way to the door.
And they lived frighteningly ever after.
The End?